Did you know that kids remember 90% of what they learn when they’re having fun? When little hands get busy with sticky, sweet apple treats, magic happens in the kitchen.
Rainy afternoons at home can turn boring fast. We’ve all seen those restless faces looking for something to do. But what if you could turn those moments into sweet memories with some apple candy crafts?
These simple apple treats are perfect for birthday parties, after-school snacks, or just because it’s Tuesday. Your kids will love creating these tasty projects almost as much as they’ll enjoy eating them.
Ready to see those big smiles and sticky fingers? Let’s turn ordinary apples into extraordinary treats your kids will ask for again and again.
What Is an Apple Candy Craft?
Apple candy crafts are simple food projects where kids transform ordinary apples into sweet, decorated treats using items like caramel, chocolate, sprinkles, and other toppings.
These tasty activities work wonderfully in many settings – from classroom science lessons about states of matter to Halloween parties with caramel apples.
They help kids practice fine motor skills and following steps while creating something they’re excited to show off and eat afterward.
Perfect for rainy days, birthday celebrations, or holiday gatherings, apple candy crafts keep little hands busy and create treats that look as good as they taste!
Essential Materials for Apple Candy Crafts
Here’s everything you’ll need to get started with your Apple Candy Crafts:
|
Step-by-Step Guide: Crafting Your Apple Candy
Follow these simple steps to create perfect candy apples your kids will love to make and eat!
Step 1: Prep Your Apples and Workspace
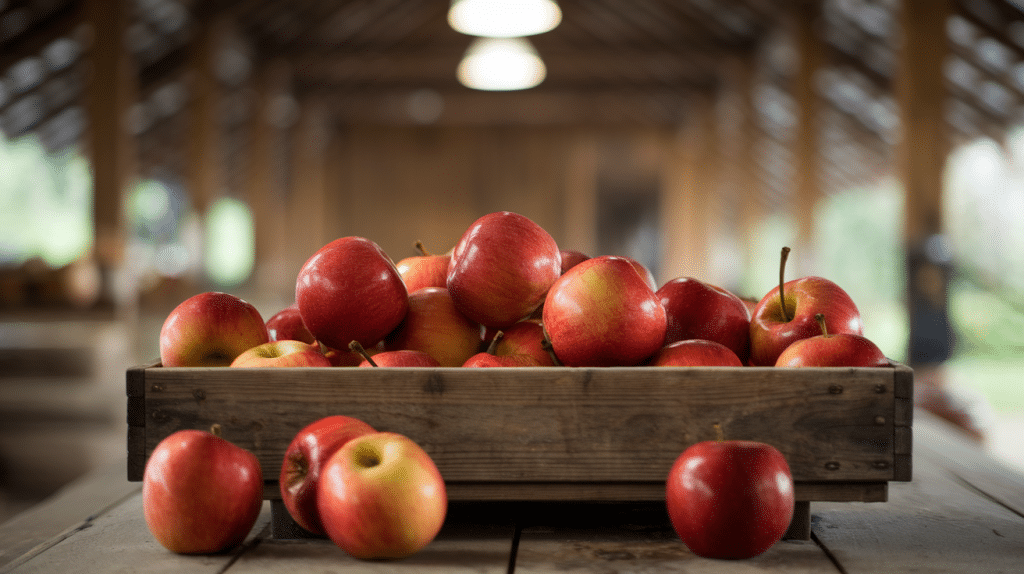
Wash and dry your apples well. Remove stems and insert craft sticks firmly into the top of each apple. Line a tray with wax paper and place your finished creations on it.
This helps keep your kitchen clean and gives your apples a place to set without sticking.
“Tip: Chill apples in the refrigerator for 30 minutes before starting – cold apples help the coating stick better!”
Step 2: Melt Your Coating

Melt your caramel or chocolate in a bowl. For caramel, warm it slowly and stir often to prevent burning.
The bowl should be deep enough to dip the whole apple but not so big that your coating spreads too thin. You want a thick, smooth mixture that will coat evenly.
“Tip: If using microwave, heat in 30-second bursts and stir between each to avoid scorching.”
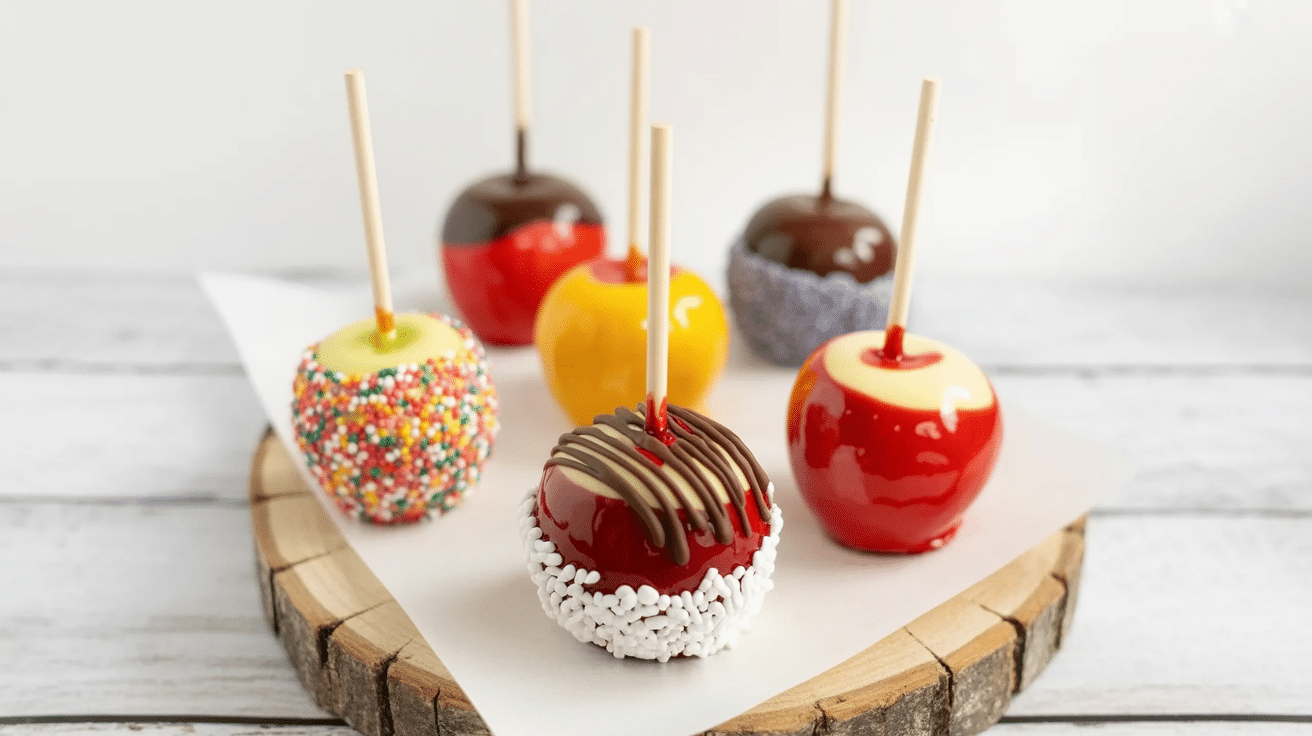
Step 3: Dip and Decorate

Dip each apple into the melted coating, turning to cover all sides. Let the excess drip back into the bowl for a few seconds.
While the coating is still wet, roll or sprinkle your toppings onto the apple. You can use one topping for the whole apple or create sections with different decorations.
“Tip: Set up small bowls with different toppings assembly-line style so kids can quickly move from dipping to decorating.”
Step 4: Set and Serve
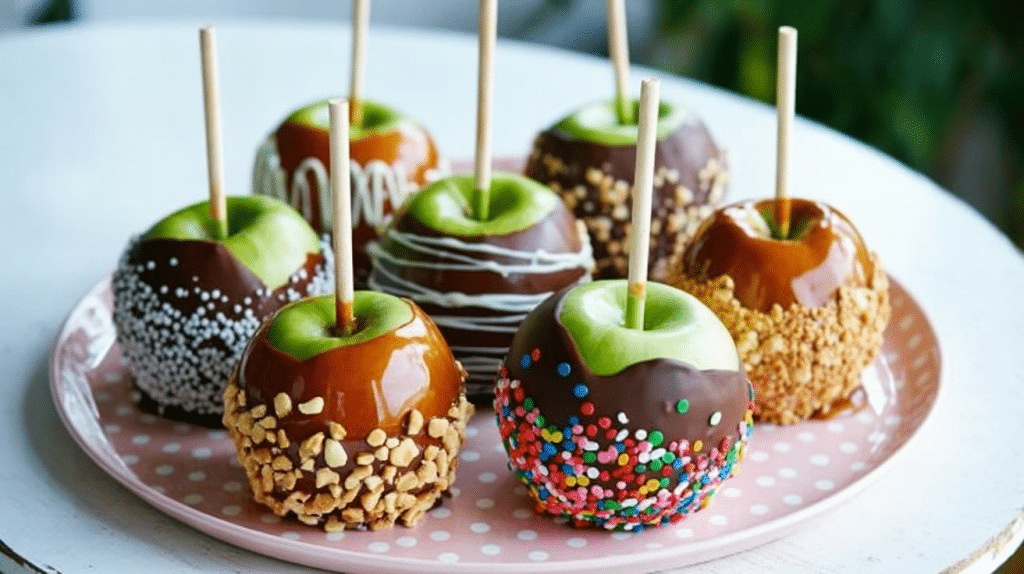
Place finished apples on your prepared wax paper and let them set until the coating hardens. For chocolate, this takes about 15-20 minutes at room temperature or 5-10 minutes in the fridge.
It may take a bit longer for caramel. Once set, you can wrap them in cellophane for gifts or serve them right away for a special treat.
“Tip: If you’re not eating them right away, store in the refrigerator. Let them sit at room temperature for 10 minutes before eating for the best texture.”
Creative Twists: More Apple Candy Ideas to Try!
Want to take your apple treats to the next level? These fun variations will keep the creativity flowing and surprise the little ones with new flavors and looks!
Mini Apple Bites
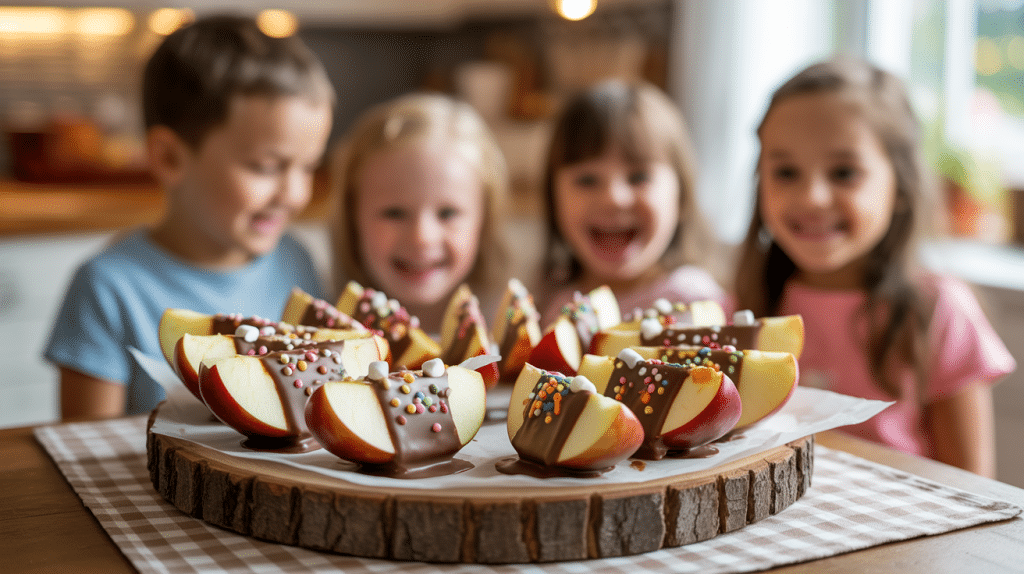
Cut apples into wedges instead of using whole apples. Dip each slice in chocolate or caramel and add toppings. These bite-sized treats are perfect for smaller kids and make the fun last longer with more pieces to decorate. They’re also great for parties where guests might not want a whole apple.
Themed Holiday Apples

Create holiday-specific designs using colored chocolate and themed sprinkles. Try orange and black for Halloween, red and green for Christmas, or pastels for Easter. Kids love matching their treats to upcoming celebrations! These make wonderful gifts for teachers or neighbors during festive seasons.
Candy Apple Faces
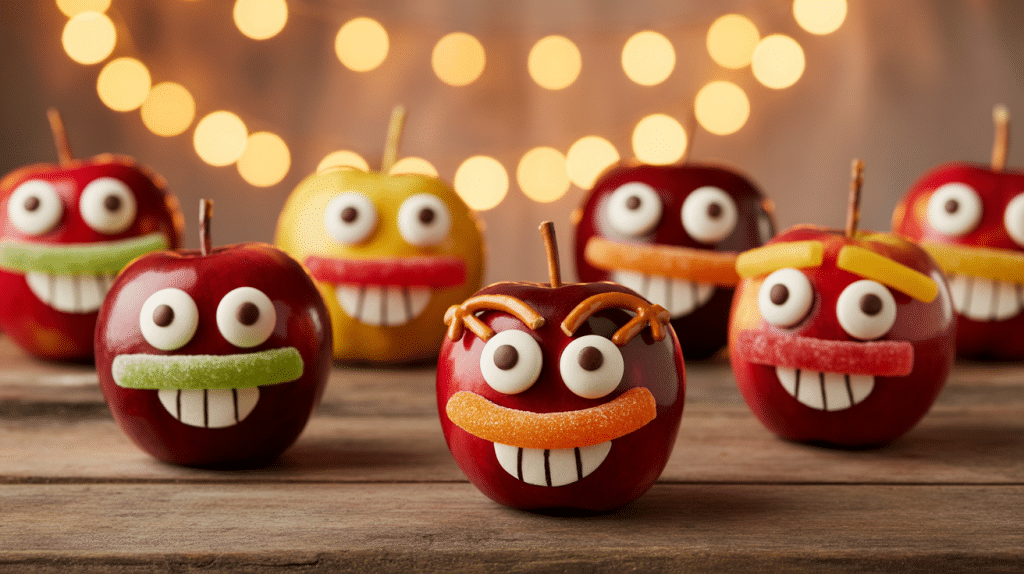
Use small candies, nuts, and fruit pieces to create funny faces on your dipped apples. Chocolate chips make great eyes, sliced almonds work as ears, and licorice pieces can become silly hair or mouths. Each child can create a unique character with their own personality.
Double-Dipped Delights
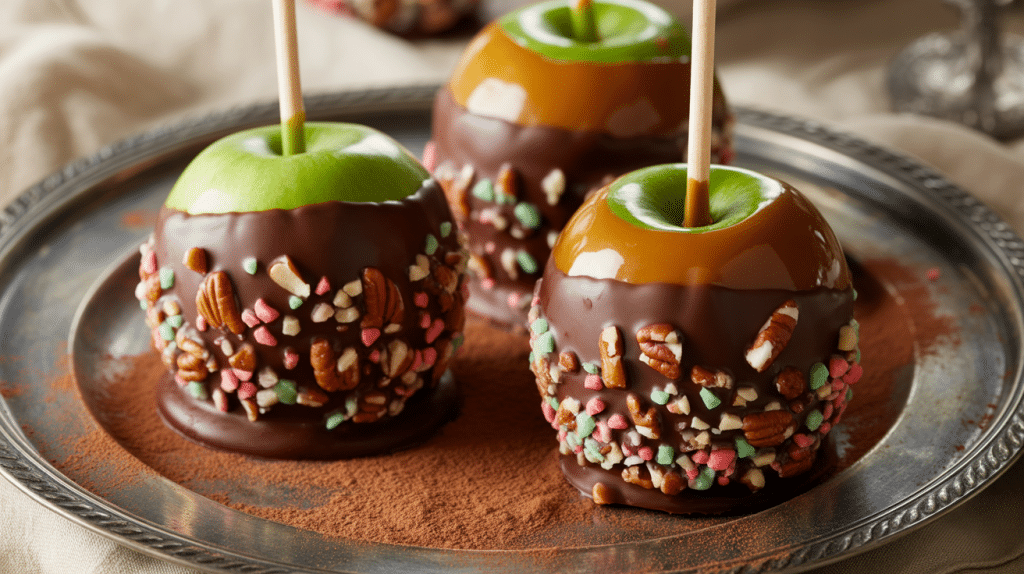
After your first layer sets, dip parts of the apple in a contrasting coating. Try half caramel and half chocolate, or dip just the bottom third in nuts after the whole apple has been coated. The mix of flavors and textures makes these apples extra special, and they look impressive too!
Creating Memories One Apple at a Time
Apple candy crafts bring more than just tasty treats to your table. They create moments where kids learn, laugh, and develop confidence in the kitchen.
The simple joy on a child’s face when they proudly display their decorated apple masterpiece is worth every sticky counter and sprinkle underfoot.
These projects work magic beyond just filling hungry tummies. They build skills, spark creativity, and most importantly, create family traditions that kids will remember long after the last bite is gone.
So gather your supplies, clear some space, and get ready for an afternoon of sweet fun. The mess might be temporary, but the memories you make will stick around much longer than any caramel coating. Happy crafting!